
Get your bike ready for spring in 6 steps
As the days grow longer and the weather warms up, there's no better way to enjoy the great outdoors than on a bicycle. Spring is the perfect season for cycling - the world comes alive with blooming flowers, chirping birds, and longer, sunnier days. With the wind in your hair and the sun on your face, there's something truly magical about pedaling through the fresh spring air.
Enjoy your bike during spring rides
Whether you're a seasoned cyclist or just starting out, your best cycling experience depends a lot on the shape of your bike. In this post, we'll take a look at how to get your bike ready for spring and share some tips for making the most of this beautiful season on two wheels.
The importance of preparing your bike for spring cycling
Before you hit the road or trail, it's important to make sure your bike is in top shape after a long winter of disuse. By taking the time to properly prepare your bike for spring cycling, you'll not only ensure a safer and more enjoyable ride, but also extend the life of your bike and save money on costly repairs in the long run. From cleaning and inspecting your bike for damage to checking tire pressure and lubricating moving parts, there are several key steps you can take to get your bike ready for spring. In this post, we'll explore the importance of preparing your bike for spring cycling and share some tips for getting your bike in top shape for the season ahead.
Step 1: Give your bike some love during a good proper cleaning
The tools you'll need
- Bucket (with water)
- Detergent, or special bicycle cleaner
- Sponge
- Soft brush
- Small brush (e.g. toothbrush) for hard-to-reach places
- Cloth (to dry the bike)
How to clean your bike effectively
- Use the (wet) sponge to soap the bike well. Take good care of all parts and edges, under the saddle and the inside of the forks for example.
- With the soft brush, clean the parts of stubborn dirt, such as rims, tyres and the down tube of the frame.
- In the hard to reach places you can use the small brush to brush away the dirt.
- Once everything is well clear of dirt and deposits, rinse the bike to remove all the suds and soap.
- Rub the bike dry with a clean cloth. Polish the top layer of the frame, wheels and other parts well so that everything shines nicely again.

Step 2: Inspect your bike for damage or other wear and tear
Checking the frame, brakes, and gears
A bike with damage in materials and parts, cracks and bends after a fall, and other forms of damage will not only functioning less well, it will especially come at the expense of something much more important: your safety.
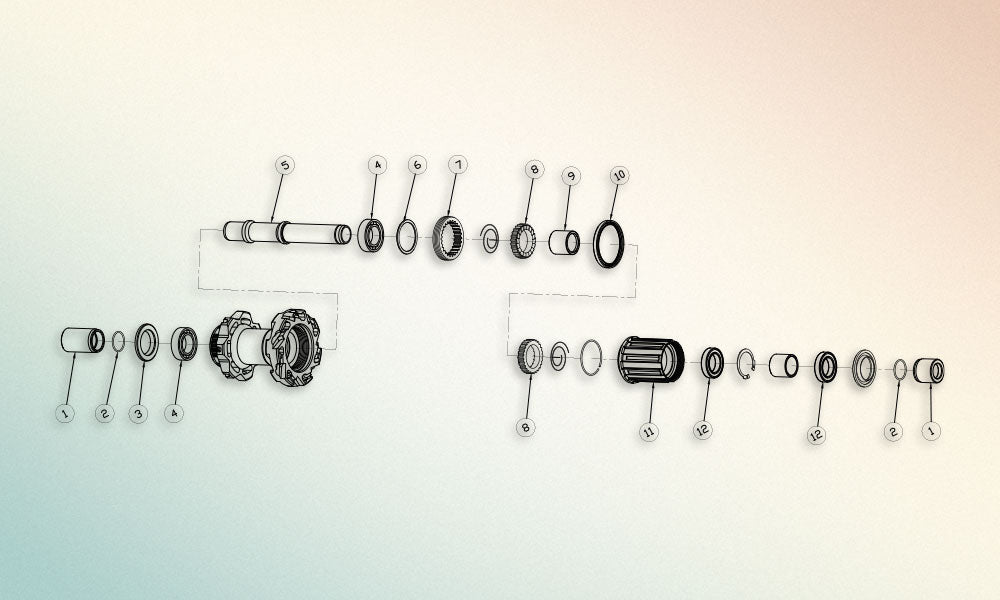
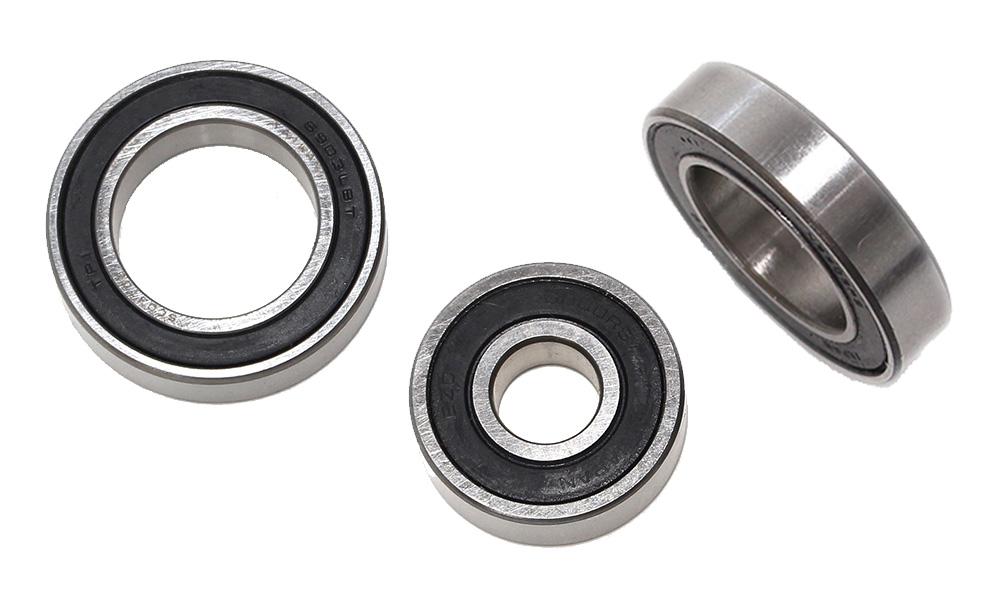
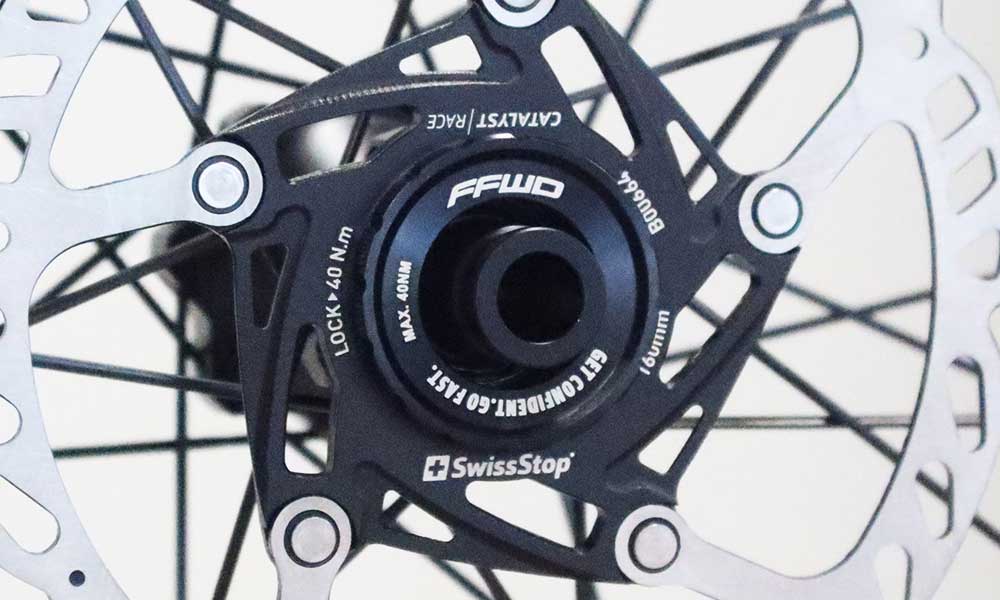
Besides damaged parts, wear and tear can also be a reason to get to work on thorough maintenance and/or replacement. In almost everything that spins and moves on the bike, for example the wheels, the bottom bracket and the headset, there are bearings that need to be well greased and in need of replacement every now and then.
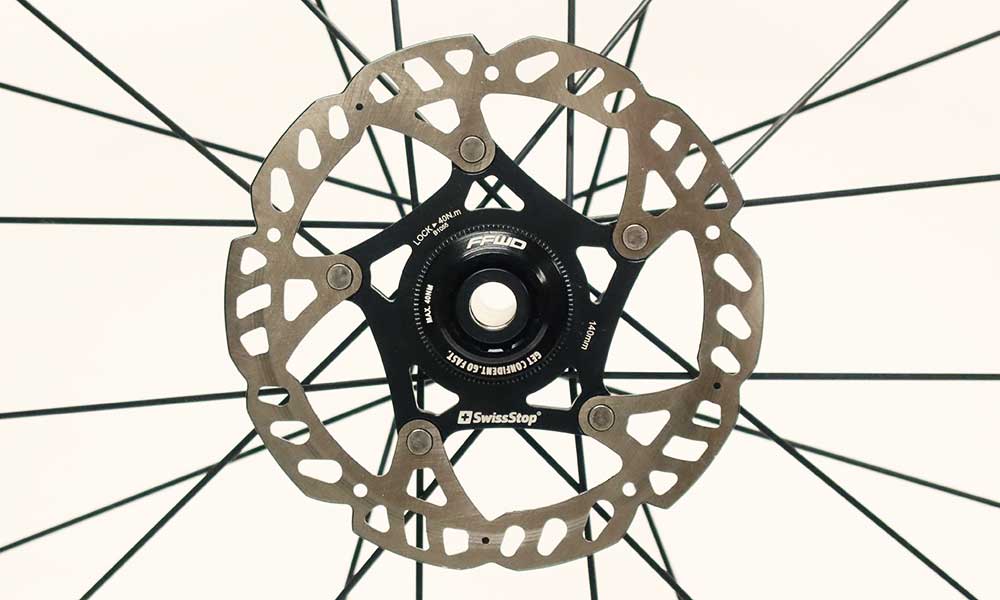
Check if your wheels are out of true or damaged
Have you ever driven on wheels which are out of true? You probably have, and then you know that this does not exactly affect driving comfort in a positive way. More important, damage to the wheels reduces your safety and also shortens the lifespan of the wheel components. Reason enough to inspect your wheels carefully. The best way to check if the wheels are out of true when they are mounted in the bike. Just watch from the top of the bike how the wheel turns through the forks, you will quickly notice a sideways deviation.
What to do with any issues you find
Do you notice something that doesn't make you happy? Damage to your frame or parts, or something that no longer works well due to wear and tear? Then there is some important work to be done. If you are a good bike mechanic yourself, you can show off your skills and repair or replace the parts that need attention. If you cannot do this yourself, get some help of a skilled mechanic at your (local) bikeshop.
Step 3: Lubricate moving parts
These parts need lubrication
With smooth-running parts, your bike feels just better, and you won't hear annoying noises. Also it prevents unnecessary rapid wear and tear. To make sure everything runs smoothly and lubricated, we have listed the parts that need attention.
- Headset
- Bottum bracket
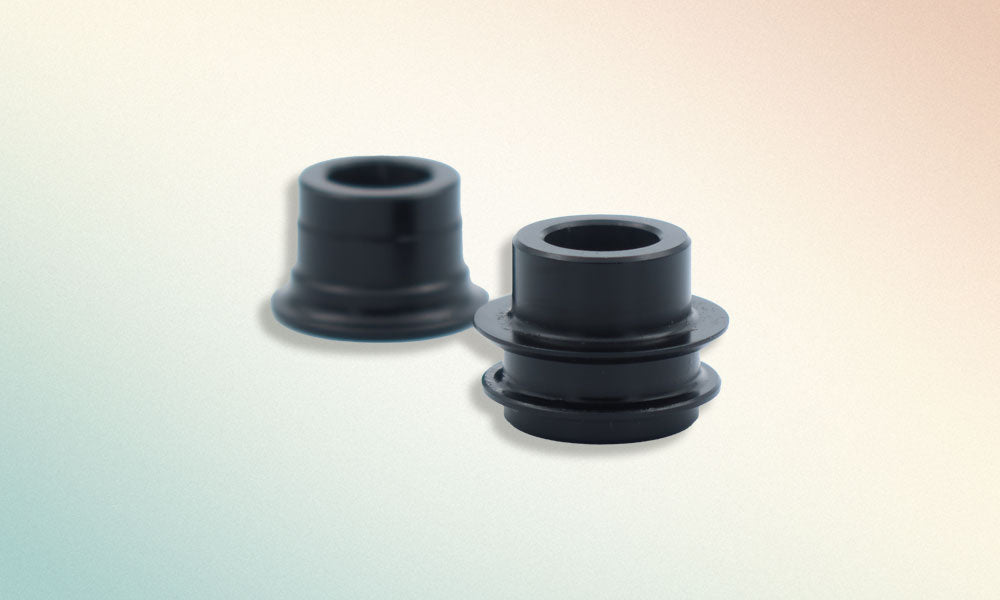
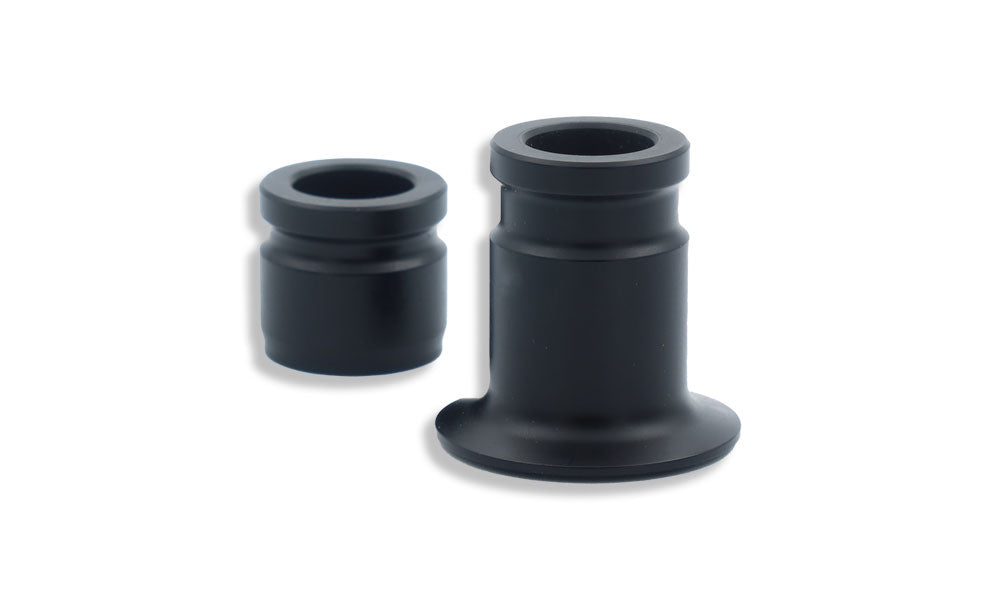
- Hubs
- Chain
- Jockey wheels
Different types of lube
There are different types of lubricant for bikes, how you use them depends mainly on the part that needs to be lubed. For bearings (headset and bottom bracket), you use a bearing grease which is a lot thicker than, say, a chain lubricant.
It is important to use the right type of lubricant for the parts you want to lubricate. So research carefully which lubricant is best or consult a specialist.
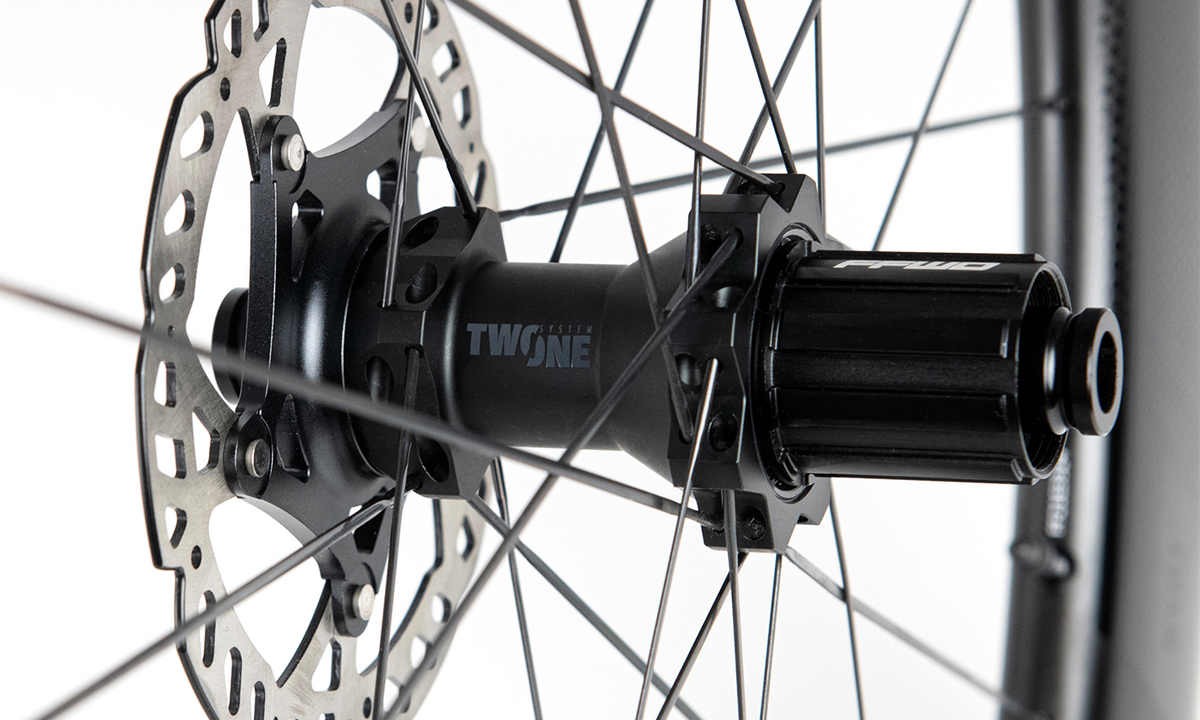
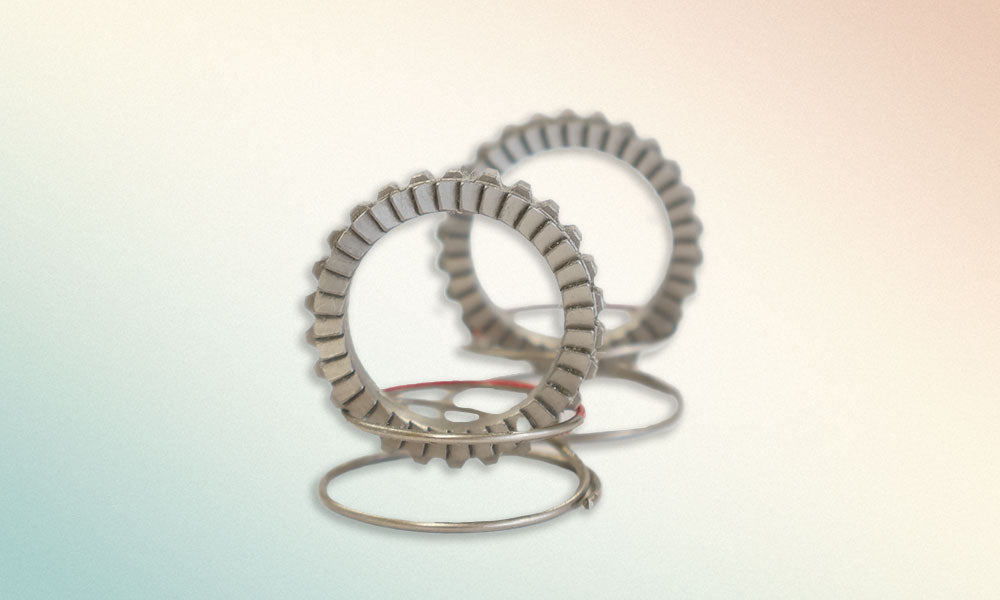
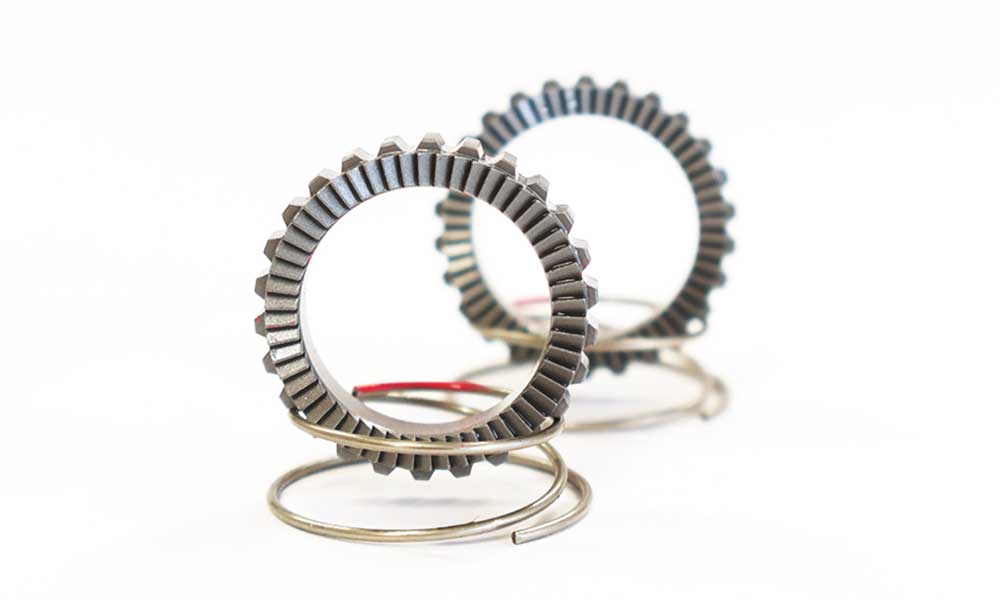
Lubricating the bearings in bicycle wheels depends mainly on the type of bearing in the hubs. Most modern hubs are equipped with high-quality industrial bearings and hardly need any maintenance. Once the bearings are worn out, they can be replaced. This requires special tools so our advice is to have this job done by a specialist.
Tip!
Did you know you can also have your FFWD wheels serviced by our specialists? With the check-up service you can make your precious wheels like new again!
Step 4: Check tire pressure and replace tires if necessary
The importance of proper tire pressure
Riding with the right pressure I your tyres has a number of important benefits. Mentioning:
- We'll start with the most important one: safety. The right tyre pressure ensures that you have optimum grip when cornering, especially on wet road surfaces.
- Tyre pressure has a huge impact on driving comfort. If they are too hard, you will bounce all over the place, while tyres that are too soft just don't roll that well.
- If your tyres are too soft, there is a good chance that they will hit the rim on uneven road surfaces, resulting in faster wear and/or punctures. Correct tyre pressure increases durability.
Why you replace worn or damaged tires
With worn tyres, the risk of punctures increases, and of course this is not what you want. On top of that, a worn tread becomes slippery and reducing grip very quickly. Both for your safety and rides without worries, we can only say one thing: replace your tyres in time!
Step 5: Check and test your brakes
How to check your brakes for proper function
It is almost unnecessary to say something on the importance of properly working brakes, but here it is anyway. After all, whether your brakes are working properly is quite important and life saving. How to do this?
- First of all, check if the brake pads are not too worn. If they need replacing: replace them!
- Next, the tension on the brake cable (for mechanical rim brakes), or the pressure on the brake line (for hydraulic disc brakes) must be sufficient to brake properly. Can you squeeze the brake lever all the way to the handlebars? If so, check the brake cable and adjust it properly.
- With both mechanical and hydraulic brakes, it is important that both braking and releasing go smoothly. If this is not the case, you need to adjust it.
- With rim brakes, it is important that the brake pads are adjusted so that they touch the braking surface properly. Not too high or they will hit the tyre, and not too low or you will damage the rim.
Step 6: Don’t forget the test ride
The importance of a test ride
Once you've ticked off the 5 steps in terms of maintenance, it's time to do the final check to make sure everything is smooth, lubricated and, most importantly, safely in working order. You don't want to run into equipment breakdowns along the way, have unsafe situations or even accidents due to a technical defect.
What to look for during your test ride
During your testride, you use two of your senses, these are your hearing and of course just your sense. In fact, you shouldn't hear much more than the sound of the chain rolling over your sprockets and the changing gears. Other than that, your gut usually tells enough. If everything feels smooth and comfortable without bumps, lumps and all sorts of strange rattling noises, your bike is back in perfect shape for the season.
Bonus:
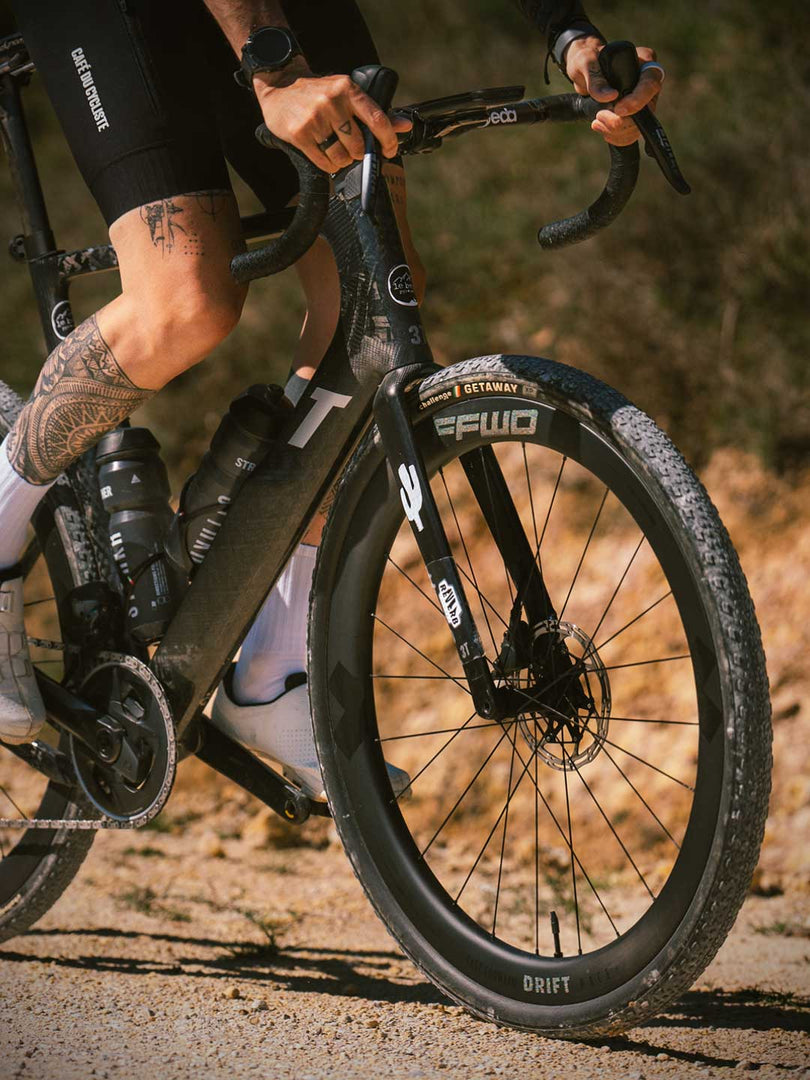
Start your cycling season with some new wheels to hit the spot?
And of course we are going to add just another bonus step, because in addition to a technically perfect bike, we may also tickle the eyes a little extra. And what then makes the picture so beautiful? Surely the wheels will do their job! It is not unimportant to mention that the advantage of a pair of great wheels is not only that they look great, they also give your performance a serious boost.
Would you like to upgrade your bike with a pair of new wheels, but find it hard to choose your ideal wheelset? Check out our blog post on the best wheel choice so you have all the know-how you need to make the right choice.

Conclusion
Cycling rides in the lovely fresh spring sunshine is a great way to start the season. To enjoy this as much as possible, it is nice the material is in top shape so equipment breakdowns do not spoil the fun. We mage a littje recap with the six steps for you:
- Step 1: polish your bike into showroom shape
- Step 2: inspect for damage and wear
- Step 3: lubricate everything smoothly
- Step 4: check the tyres (and pressure)
- Step 5: check the brakes
- Step 6: take a short test ride
- Bonus step: a set of big fat wheels :-)
Do you need extra motivation to jump on the bike now its there shiny waiting for you? OK, here's a last little warming-up and then GO!